


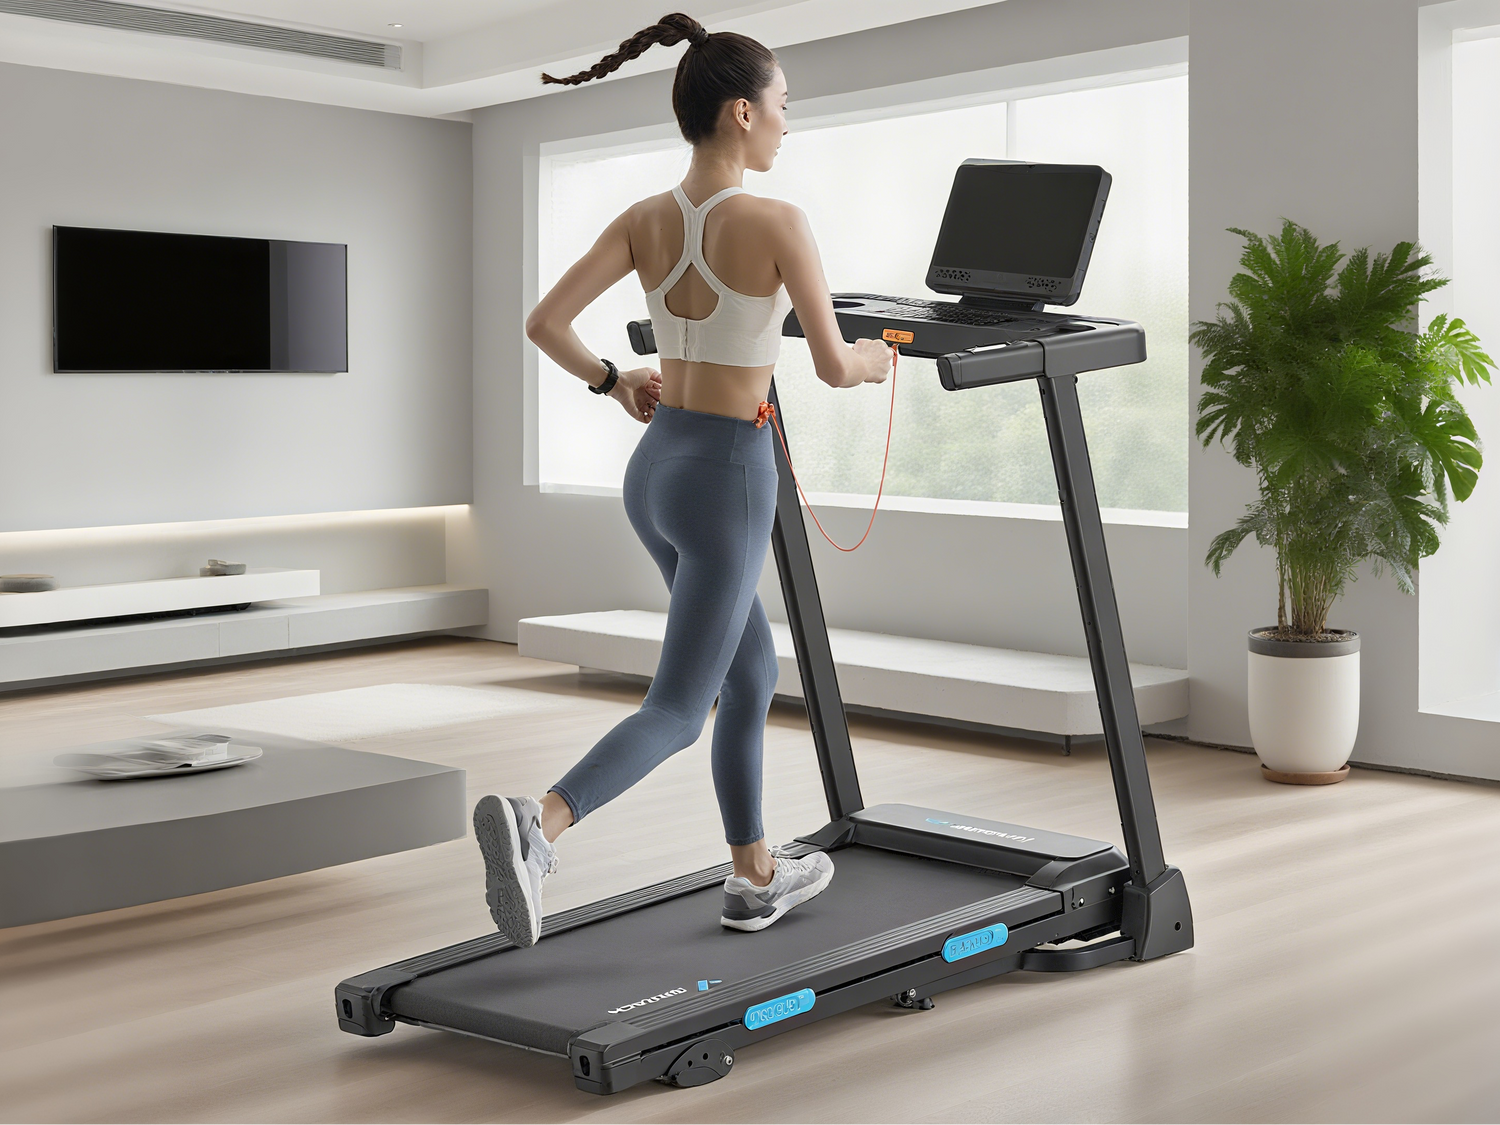
A quality treadmill represents a significant investment in your fitness journey. Whether you've purchased a premium model or a budget-friendly option, proper maintenance is crucial for ensuring optimal performance, preventing costly repairs, and extending the lifespan of your machine.
After consulting with equipment technicians and fitness facility managers, I've compiled the 10 most important treadmill maintenance tips that every owner should implement. These practical strategies will help keep your treadmill running smoothly for years to come, saving you money and frustration.
1. Master Proper Belt Lubrication
Arguably the single most important maintenance task for any treadmill owner is proper belt lubrication.
Why It Matters
The walking belt and deck create friction during use, which increases motor strain, electricity consumption, and wear on components. Proper lubrication reduces this friction by up to 80%, significantly extending the life of your motor, belt, and electronics.
Equipment technicians report that approximately 60% of treadmill service calls stem from inadequate lubrication issues.
How to Implement
Follow these steps for proper lubrication:
-
Check your manual first: Some modern treadmills use self-lubricating systems or special belts that require specific products.
-
Determine frequency: Generally, lubricate every 3 months or 130-150 miles of use (whichever comes first) for residential treadmills. Heavy users should lubricate monthly.
-
Use the correct lubricant: Most treadmills require 100% silicone oil (never use WD-40, household oils, or automotive products).
-
Apply properly:
- Turn off and unplug the treadmill
- Loosen the belt following manufacturer guidelines
- Lift the belt and apply 1-1.5 oz of lubricant directly to the center of the deck
- Distribute in an "S" pattern across the width
- Tighten belt back to specifications
- Walk at 2-3 mph for 5 minutes to distribute lubricant
Pro Tip: Many manufacturers now include lubricant indicators or reminders in their console systems. If yours doesn't, set calendar reminders to ensure you don't forget this crucial maintenance task.
2. Maintain Proper Belt Tension and Alignment
A properly tensioned and aligned belt ensures smooth operation, prevents premature wear, and provides a safe walking/running surface.
Why It Matters
A belt that's too tight creates excessive strain on the motor and rollers, while one that's too loose can slip during use, creating a safety hazard and causing erratic speed. Misalignment causes uneven wear and can result in the belt fraying against the frame.
How to Implement
Check tension and alignment monthly or whenever the belt feels different during use:
For Tension:
- Turn off the treadmill
- Lift the belt at the center—it should raise 2-3 inches
- If it lifts higher, the belt is too loose
- If it barely lifts, the belt is too tight
- Adjust using the rear roller bolts according to manufacturer specifications (typically quarter-turn increments)
For Alignment:
- Mark the center of the front and rear rollers with tape
- Run the treadmill at 3-4 mph (without walking on it)
- Observe if the belt drifts to one side
- If it does, adjust the roller bolts following your manual's instructions
- Usually tighten the side the belt is moving toward
- Make small adjustments (quarter-turn) and wait for results
- Perfect alignment has the belt centered on both rollers
Pro Tip: Always adjust both tension and alignment with the treadmill unplugged. After each adjustment, plug in and run at low speed for observation, then unplug again before making further adjustments.
3. Keep a Consistent Cleaning Routine
Regular cleaning prevents debris buildup that can damage internal components and affect performance.
Why It Matters
Dust, sweat, and debris accumulate during normal use. This buildup can:
- Clog motors and electronics leading to overheating
- Create resistance and uneven wear on the belt
- Accelerate corrosion of metal components
- Harbor bacteria and create odors
How to Implement
Establish this cleaning routine:
After Every Use:
- Wipe down the console, handrails, and frame with a slightly damp cloth
- Dry any visible sweat spots completely
- Remove any visible debris from the belt edges and motor housing
Weekly Cleaning:
- Vacuum around and under the treadmill (especially near air intake vents)
- Wipe the entire machine with a damp cloth and mild soap solution
- Clean the belt surface with a slightly damp cloth
- Check for and remove debris caught between the belt and deck
Monthly Deep Clean:
- Unplug the treadmill
- Remove the motor cover (if user-serviceable)
- Carefully vacuum dust from motor compartment and vents
- Inspect internal components for wear or damage
- Replace the cover securely
Pro Tip: Keep cleaning supplies near your treadmill to encourage regular maintenance. A simple kit with microfiber cloths, mild cleaning solution, and a small vacuum attachment makes the process convenient.
4. Don't forget a Dedicated Circuit and Power Protection
Electrical issues are a common cause of treadmill component failure that many owners overlook.
Why It Matters
Modern treadmills draw significant power, especially during startup and incline changes. Power fluctuations and sharing circuits with other high-draw appliances can damage sensitive electronic components and the motor controller—often resulting in expensive repairs.
How to Implement
Protect your treadmill's electrical system with these steps:
-
Use a dedicated circuit: Ideally, your treadmill should be the only device on its electrical circuit (15-20 amp circuit)
-
Install a quality surge protector: Not all surge protectors are created equal—invest in one specifically rated for fitness equipment or large appliances
-
Consider a voltage regulator: For areas with known power inconsistencies, a voltage regulator provides additional protection against brownouts and surges
-
Proper grounding: Ensure your outlet is properly grounded to prevent electrical component damage
-
Follow power-down protocol: Many treadmills have a proper shutdown sequence—follow it rather than simply unplugging while running
Pro Tip: If you experience frequent circuit breaker trips, this indicates your treadmill is sharing a circuit with too many devices. Consult an electrician about installing a dedicated circuit—it's much cheaper than replacing fried electronics.
5. Check and Tighten Hardware Regularly
The vibration from normal treadmill use gradually loosens nuts, bolts, and screws throughout the machine.
Why It Matters
Loose hardware creates several problems:
- Increased noise and vibration
- Misalignment of components
- Excessive wear on parts
- Potential safety hazards from structural instability
Technicians report that simple loose hardware often escalates into major mechanical failures when left unchecked.
How to Implement
Establish a regular hardware inspection routine:
-
Monthly inspections: Set a calendar reminder to check all visible hardware
-
Systematic approach: Work from top to bottom, checking:
- Console mounting hardware
- Handrail attachments
- Frame connection points
- Motor mount bolts
- Roller adjustment bolts
- Base stabilizer hardware
-
Proper tightening: Use the correct tools and don't overtighten
- Follow torque specifications if listed in your manual
- If a bolt has a lock washer or thread-locking compound, note this for future reference
-
Document issues: Keep a maintenance log noting any hardware that frequently loosens—this may indicate a larger issue
Pro Tip: Apply blue (medium-strength) thread-locking compound to bolts that repeatedly come loose. This prevents loosening while still allowing future adjustments.
6. Respect Weight Limits and Usage Ratings
Using your treadmill within its designed specifications is crucial for long-term reliability.
Why It Matters
Treadmills are engineered for specific usage patterns and weight capacities. Exceeding these limits places excessive stress on the:
- Motor and drive system
- Belt and deck
- Frame structure
- Electronics
The difference between residential and commercial-grade treadmills isn't just price—it's component durability and duty cycle ratings.
How to Implement
Follow these guidelines to avoid overworking your machine:
-
Know your treadmill's specifications:
- Maximum user weight
- Motor continuous duty rating (not peak HP)
- Recommended usage hours per day
- Residential vs. commercial designation
-
Understand duty cycle: Most residential treadmills are designed for 1-2 hours of daily use with rest periods between sessions
-
Multiple user adjustments: If multiple people of different weights use the treadmill:
- Allow cool-down time between users
- Adjust maintenance frequency upward
- Consider upgrading to a higher-duty model if usage is consistently high
-
Mind the motor: If you frequently use high inclines or are near the weight limit, provide additional cool-down time between sessions
Pro Tip: If you're near the weight limit of your current treadmill, investing in a model with a higher capacity will significantly extend its lifespan and improve performance.
7. Use and Store Your Treadmill in a Proper Environment
Environmental factors significantly impact treadmill performance and longevity.
Why It Matters
Treadmills contain sensitive electronics, bearings, and materials that can be damaged by:
- Excessive humidity causing corrosion and electrical shorts
- Temperature extremes affecting lubricant viscosity and electronics
- Direct sunlight degrading belts, consoles, and plastic components
- Dust and airborne particles clogging motors and bearings
How to Implement
Create an ideal environment for your treadmill:
-
Temperature control: Keep your treadmill in an area that maintains 50-85°F (10-29°C)
-
Humidity management: Aim for 40-60% relative humidity
- Use a dehumidifier in damp basements
- Avoid placing near bathrooms or pool areas
-
Proper flooring: Place your treadmill on a level surface
- Use a dedicated equipment mat to:
- Reduce vibration
- Protect flooring
- Prevent dust infiltration from below
- Minimize static electricity
- Use a dedicated equipment mat to:
-
Positioning considerations:
- Keep at least 6-8 inches of clearance around all sides for airflow
- Position away from direct sunlight
- Keep away from heating/cooling vents that cause temperature fluctuations
-
If storing long-term:
- Fully clean and lubricate before storage
- Cover with a breathable cover (not plastic)
- Store in climate-controlled space
- If possible, periodically run for short periods during storage
Pro Tip: Many treadmill warranties specifically exclude damage from environmental factors. Taking photos of your treadmill's setup environment can be helpful if warranty claims arise.
8. Practice Proper Walking/Running Technique
How you use your treadmill directly impacts wear patterns and component stress.
Why It Matters
Improper usage habits create uneven wear, increase motor strain, and accelerate belt/deck deterioration. Common issues include:
- Landing too heavily, especially when running
- Standing too far forward or backward on the belt
- Pushing off the console or handrails
- Starting the treadmill while standing on the belt
How to Implement
Follow these usage best practices:
-
Proper foot strike:
- Land midfoot rather than heavily on heels
- Maintain a short stride that lands under your center of gravity
- Avoid "slapping" or dragging feet
-
Correct positioning:
- Stand in the center of the belt, not too far forward or back
- Maintain 1-2 feet of space between you and the console
- Avoid leaning on handrails except for brief balance checks
-
Starting protocol:
- Step onto the belt with feet on the side rails
- Start at low speed (1-2 mph)
- Step onto moving belt carefully
- Gradually increase to desired speed
-
Weight distribution:
- Maintain an upright posture with neutral spine
- Distribute weight evenly between both feet
- Avoid running patterns that favor one side
Pro Tip: Consider a professional gait analysis if you're a serious runner. Correcting biomechanical issues improves not only treadmill longevity but also reduces your injury risk.
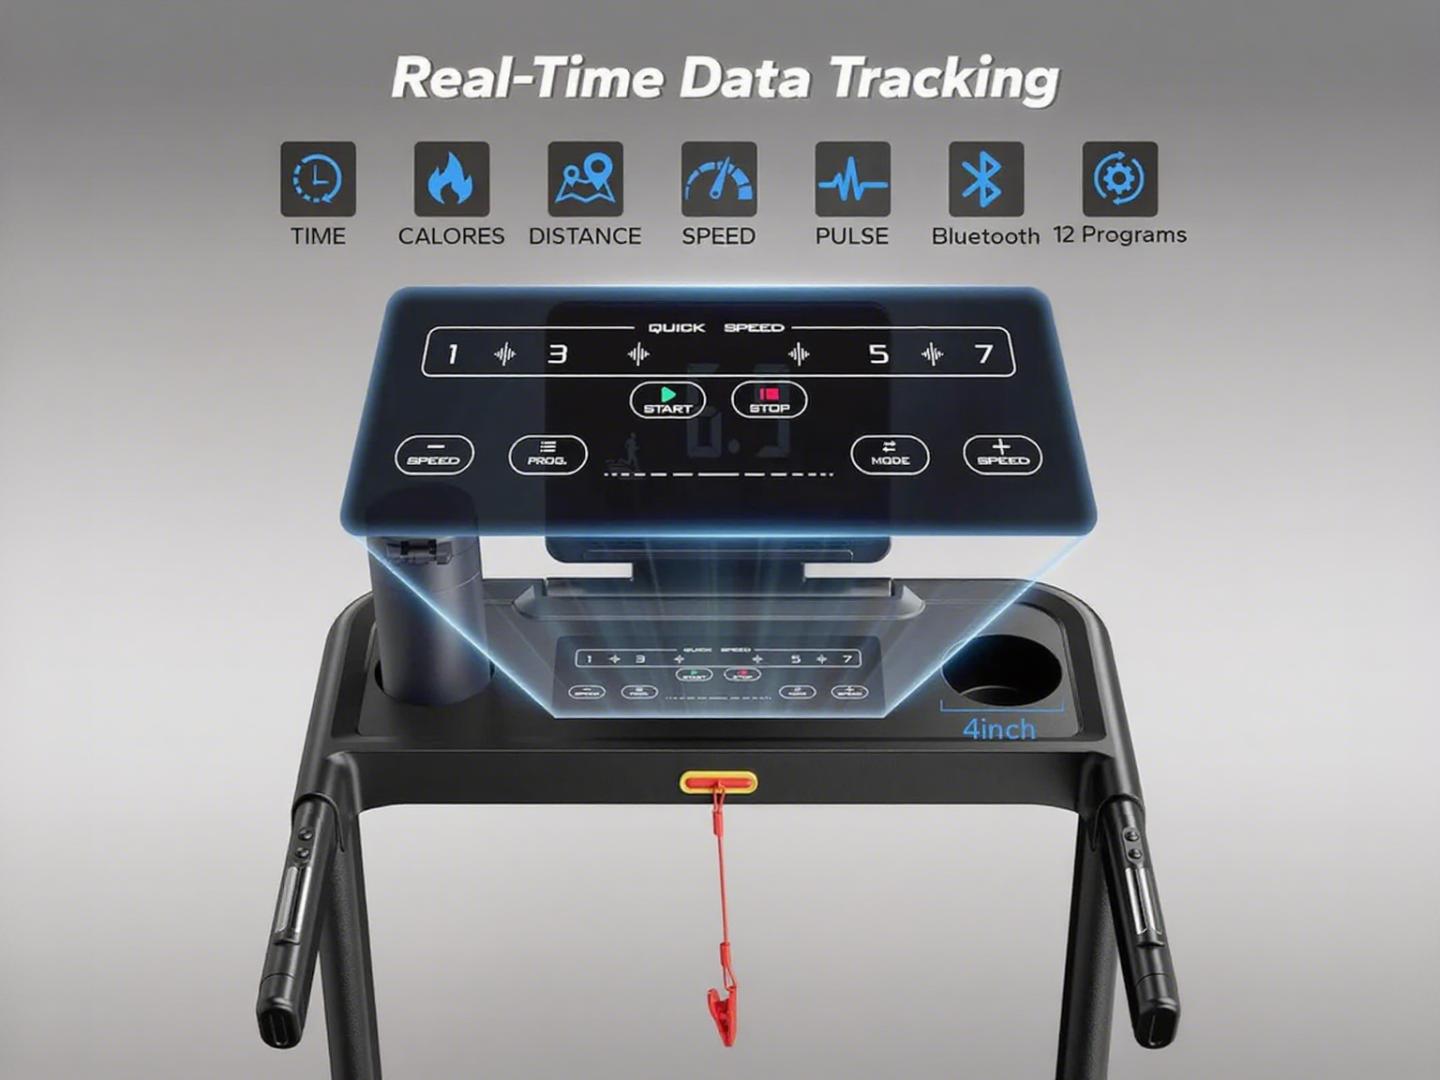
9. Monitor Performance Metrics and Investigate Changes
Being attentive to your treadmill's normal operation allows you to catch issues before they become serious problems.
Why It Matters
Like any mechanical system, treadmills often provide warning signs before major failures. Changes in normal operation can indicate:
- Belt/deck wear requiring attention
- Motor strain or bearing issues
- Electrical problems developing
- Calibration drift affecting speed or incline accuracy
How to Implement
Develop a habit of performance awareness:
-
Establish baselines:
- Note normal sound levels and qualities
- Observe typical motor response during speed changes
- Feel for consistent belt movement (no stuttering or hesitation)
- Time how long incline adjustments typically take
-
Regular performance checks:
- Monthly speed verification (use a GPS watch or app to verify displayed speed)
- Incline accuracy check (use a level or incline measurement app)
- Belt drift observation (should stay centered during use)
- Sound/vibration assessment during operation
-
Create a maintenance log:
- Record date, runtime hours, and observations
- Note any unusual sounds, smells, or performance issues
- Track when maintenance tasks are performed
- Document any error codes that appear
-
Early intervention:
- Address minor issues before they escalate
- Contact customer support when performance changes
- Reference your observations when speaking with technicians
Pro Tip: Many quality treadmills have diagnostic modes accessible through button combinations. Check your manual for these features, which can provide valuable troubleshooting data.
10. Follow a Seasonal Maintenance Schedule
Combining all previous tips into a structured maintenance calendar ensures nothing gets overlooked.
Why It Matters
Systematic maintenance prevents the "out of sight, out of mind" problem that leads to neglect. Regular scheduling helps you:
- Maintain warranty compliance
- Catch developing issues early
- Extend equipment lifespan
- Preserve performance quality
How to Implement
Create a comprehensive maintenance calendar:
Daily (After Each Use):
- Wipe down surfaces
- Check for unusual sounds/performance
- Position the belt in center when finished
Weekly:
- Clean thoroughly including under the treadmill
- Check belt alignment and tension
- Inspect power cord for damage
- Test emergency stop functionality
Monthly:
- Vacuum motor compartment (if user-accessible)
- Check and tighten all hardware
- Inspect belt for wear or damage
- Test incline system through full range
Quarterly:
- Lubricate belt/deck
- Perform deep cleaning of all components
- Check electrical connections
- Calibrate speed and incline if needed
Annually:
- Conduct comprehensive inspection of all components
- Replace worn parts proactively
- Consider professional service for complex models
- Update firmware/software if applicable
Pro Tip: Create calendar reminders for these maintenance tasks, or use a dedicated maintenance app. Some advanced treadmills include maintenance reminders based on actual usage hours rather than calendar time.
Troubleshooting Common Treadmill Issues
Even with perfect maintenance, you may occasionally encounter issues. Here's how to address common problems:
Erratic Speed Fluctuations
Potential Causes:
- Belt slippage due to insufficient tension
- Motor control board issues
- Power supply fluctuations
- Speed sensor malfunction
DIY Checks:
- Check and adjust belt tension
- Ensure proper power supply (dedicated circuit)
- Clean speed sensor (usually near front roller)
- Test with and without incline to isolate variables
Unusual Noises
Potential Causes and Solutions:
High-pitched whine:
- Motor strain - check belt tension and lubrication
- Bearing wear - inspect and replace if necessary
Thumping/knocking:
- Walking belt seam hitting rollers - may need belt replacement
- Object caught in belt - inspect and remove
- Loose components - tighten all hardware
Grinding noise:
- Insufficient lubrication - apply immediately
- Debris between belt and deck - clean thoroughly
- Roller bearing failure - inspect and replace if needed
Console Issues
Potential Causes and Solutions:
No power/intermittent display:
- Check power connections
- Reset circuit breaker
- Inspect for wire damage
- Test outlet with another device
Erratic readings:
- Loose wire connections - check internal harnesses
- Moisture damage - ensure proper environment
- Static electricity - use proper grounding and treadmill mat
When to Call a Professional
While many maintenance tasks are DIY-friendly, some situations warrant professional service:
- Electrical issues: Burning smells, circuit breaker trips, or console malfunctions
- Motor problems: Unusual noises, overheating, or failure to maintain speed
- Structural concerns: Frame cracks, excessive wobbling, or stability issues
- Belt/deck replacement: This precision task often requires specialized tools
- Error codes: Persistent error messages that don't resolve with basic troubleshooting
The cost of a preventative maintenance service (300-800) or replacement parts like motors (150-400).
Conclusion
A quality treadmill represents a significant investment in your health and fitness. With proper maintenance, many models can provide 7-10+ years of reliable service instead of the 3-5 years typical of neglected machines.
The difference between these outcomes isn't luck—it's consistent, proactive maintenance. By implementing these 10 essential tips, you'll not only extend your treadmill's lifespan but also ensure safer, more effective workouts throughout its life.
Remember that maintenance is cumulative—small, regular efforts prevent major problems and expenses later. Start with the basics of cleaning and lubrication, then gradually implement the more advanced maintenance practices as they become part of your routine.
What maintenance practices have helped extend the life of your treadmill? Share your experiences in the comments below!

Leave a comment
All comments are moderated before being published.
This site is protected by hCaptcha and the hCaptcha Privacy Policy and Terms of Service apply.